Turn Your Existing Resume into Resume as Code with an AI Agent
Hand your existing resume in any format (PDF, Word, Markdown, and more) to an AI and it moves it to GitResume for you. You get a PDF and a web resume in minutes.
 Hao @ GitResume Updated October 9, 2026
 GitResume shipped a few big updates in October that I’m really excited about. The whole onboarding flow has been redesigned: when you create a resume, you can now upload it or use the visual builder, so connecting GitHub is no longer required, and the MCP server supports this path too. GitResume is also now listed in Claude’s connector directory.
I kept running into users who aren’t engineers and don’t know Git, and they got stuck on creating a repository and making a commit. The numbers told the same story: quite a few people signed up and never created a project. I’ve been thinking about how to fix that for a while.
Today I’m happy to announce that once you connect your AI to the GitResume MCP server, it can move the resume you already have into GitResume in one go, in any format (PDF, Word, Markdown, and more). That includes the recently launched Resume Check, which you can try right away.
Three steps
1. Sign in
Go to gitresume.co and sign in with GitHub or Google.
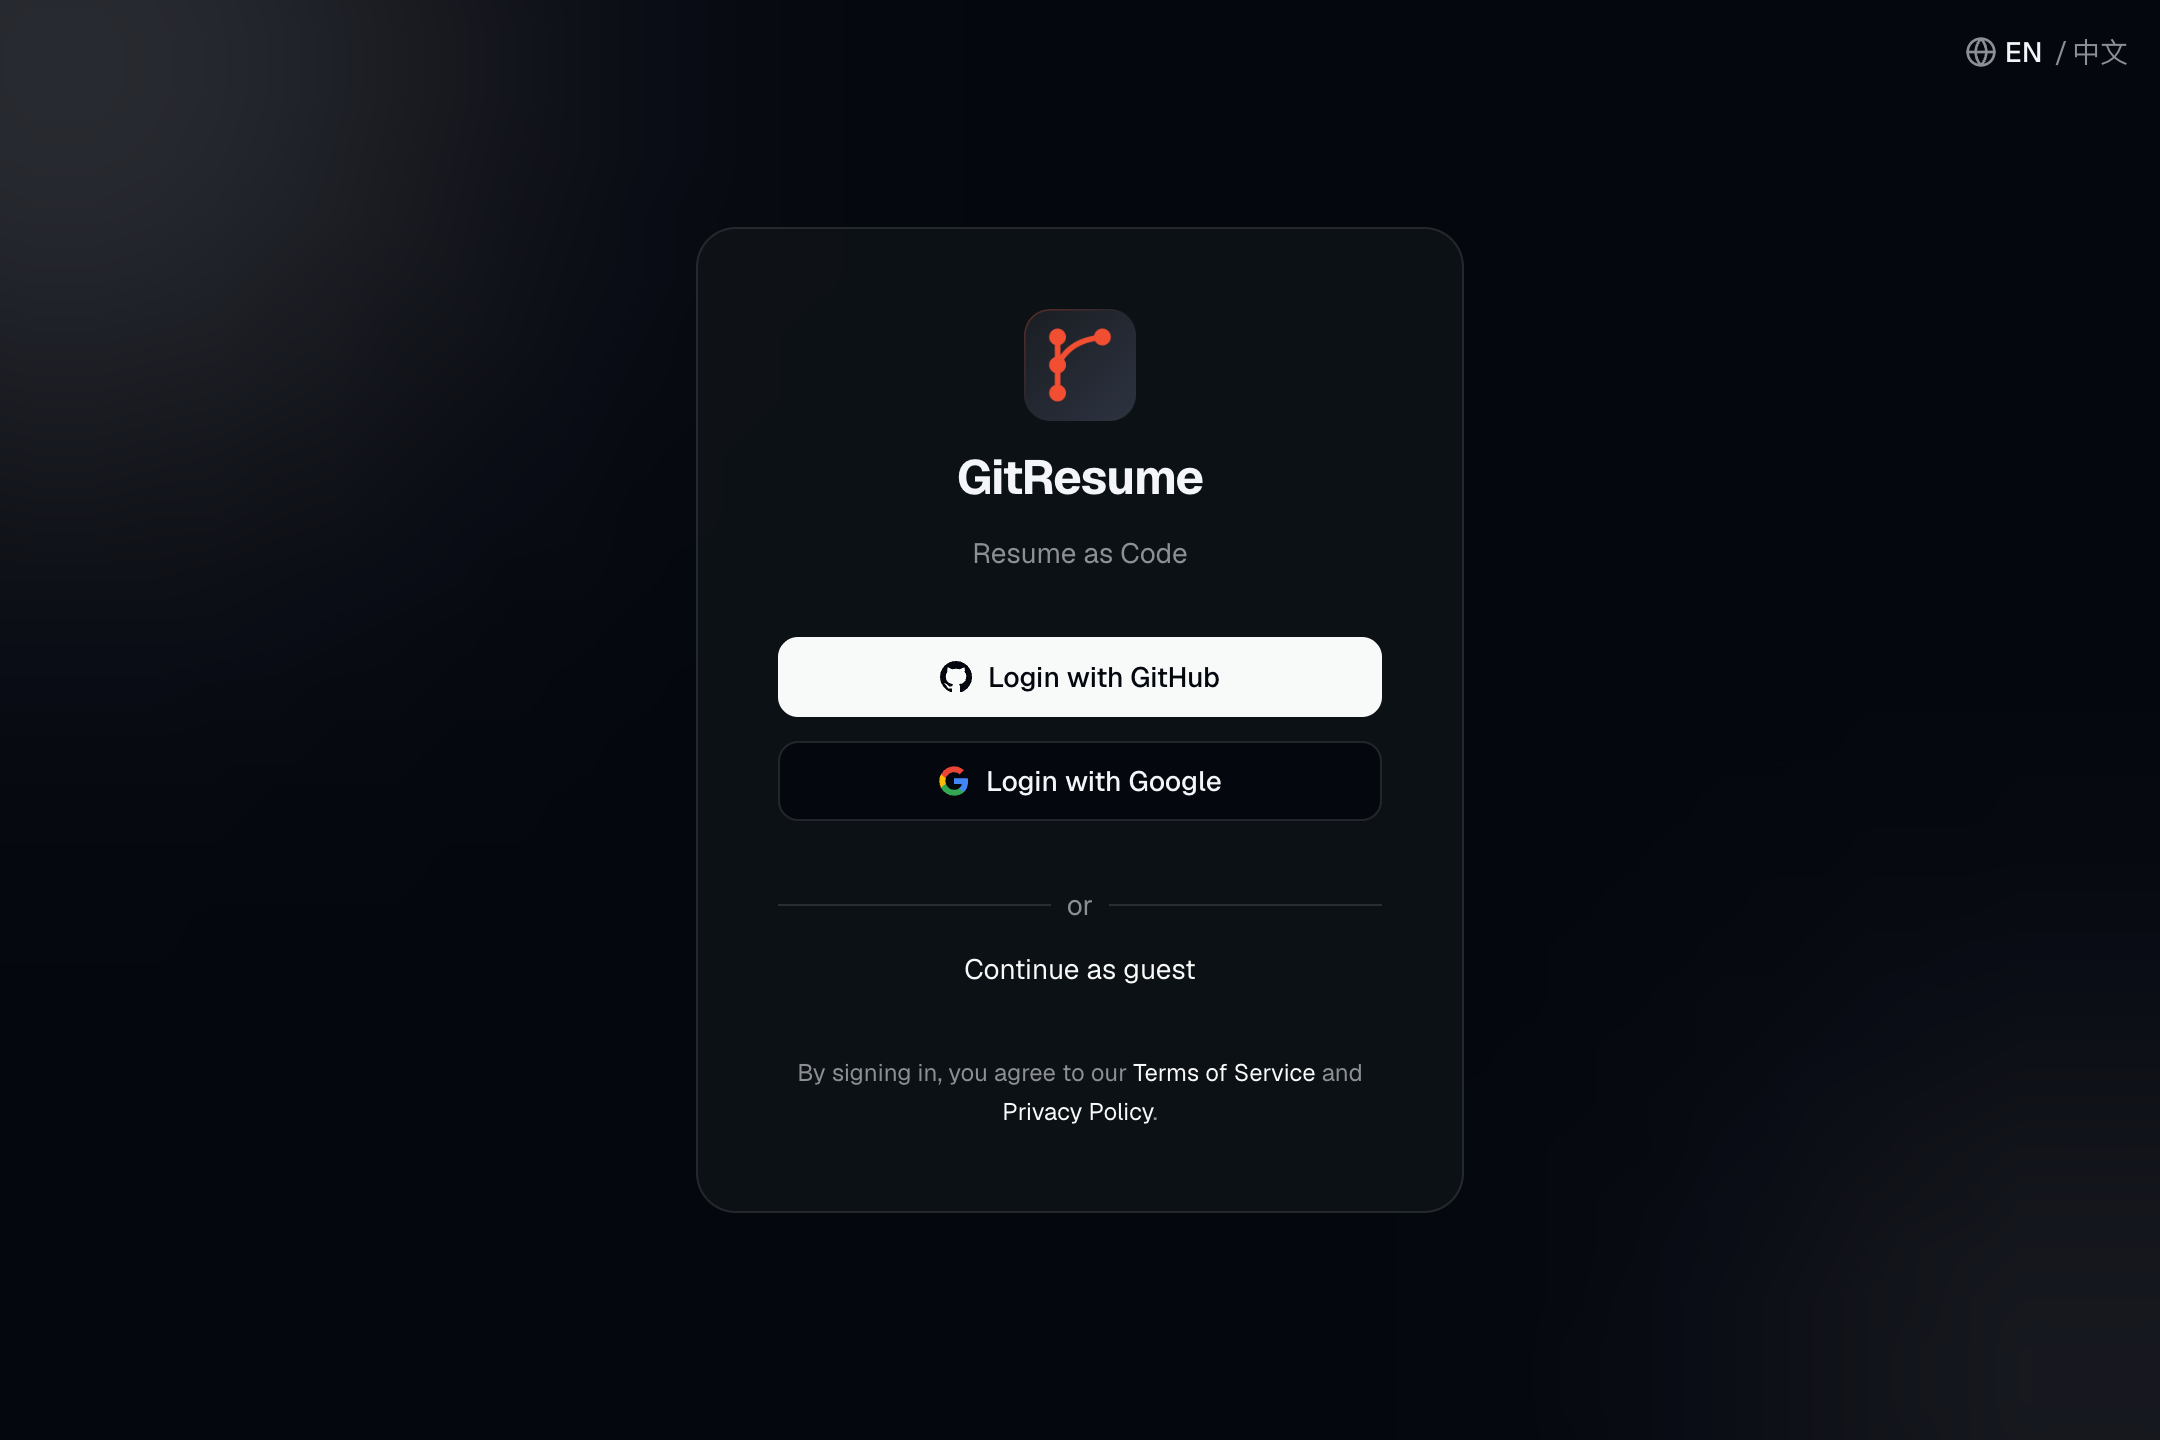
2. Connect your AI to GitResume
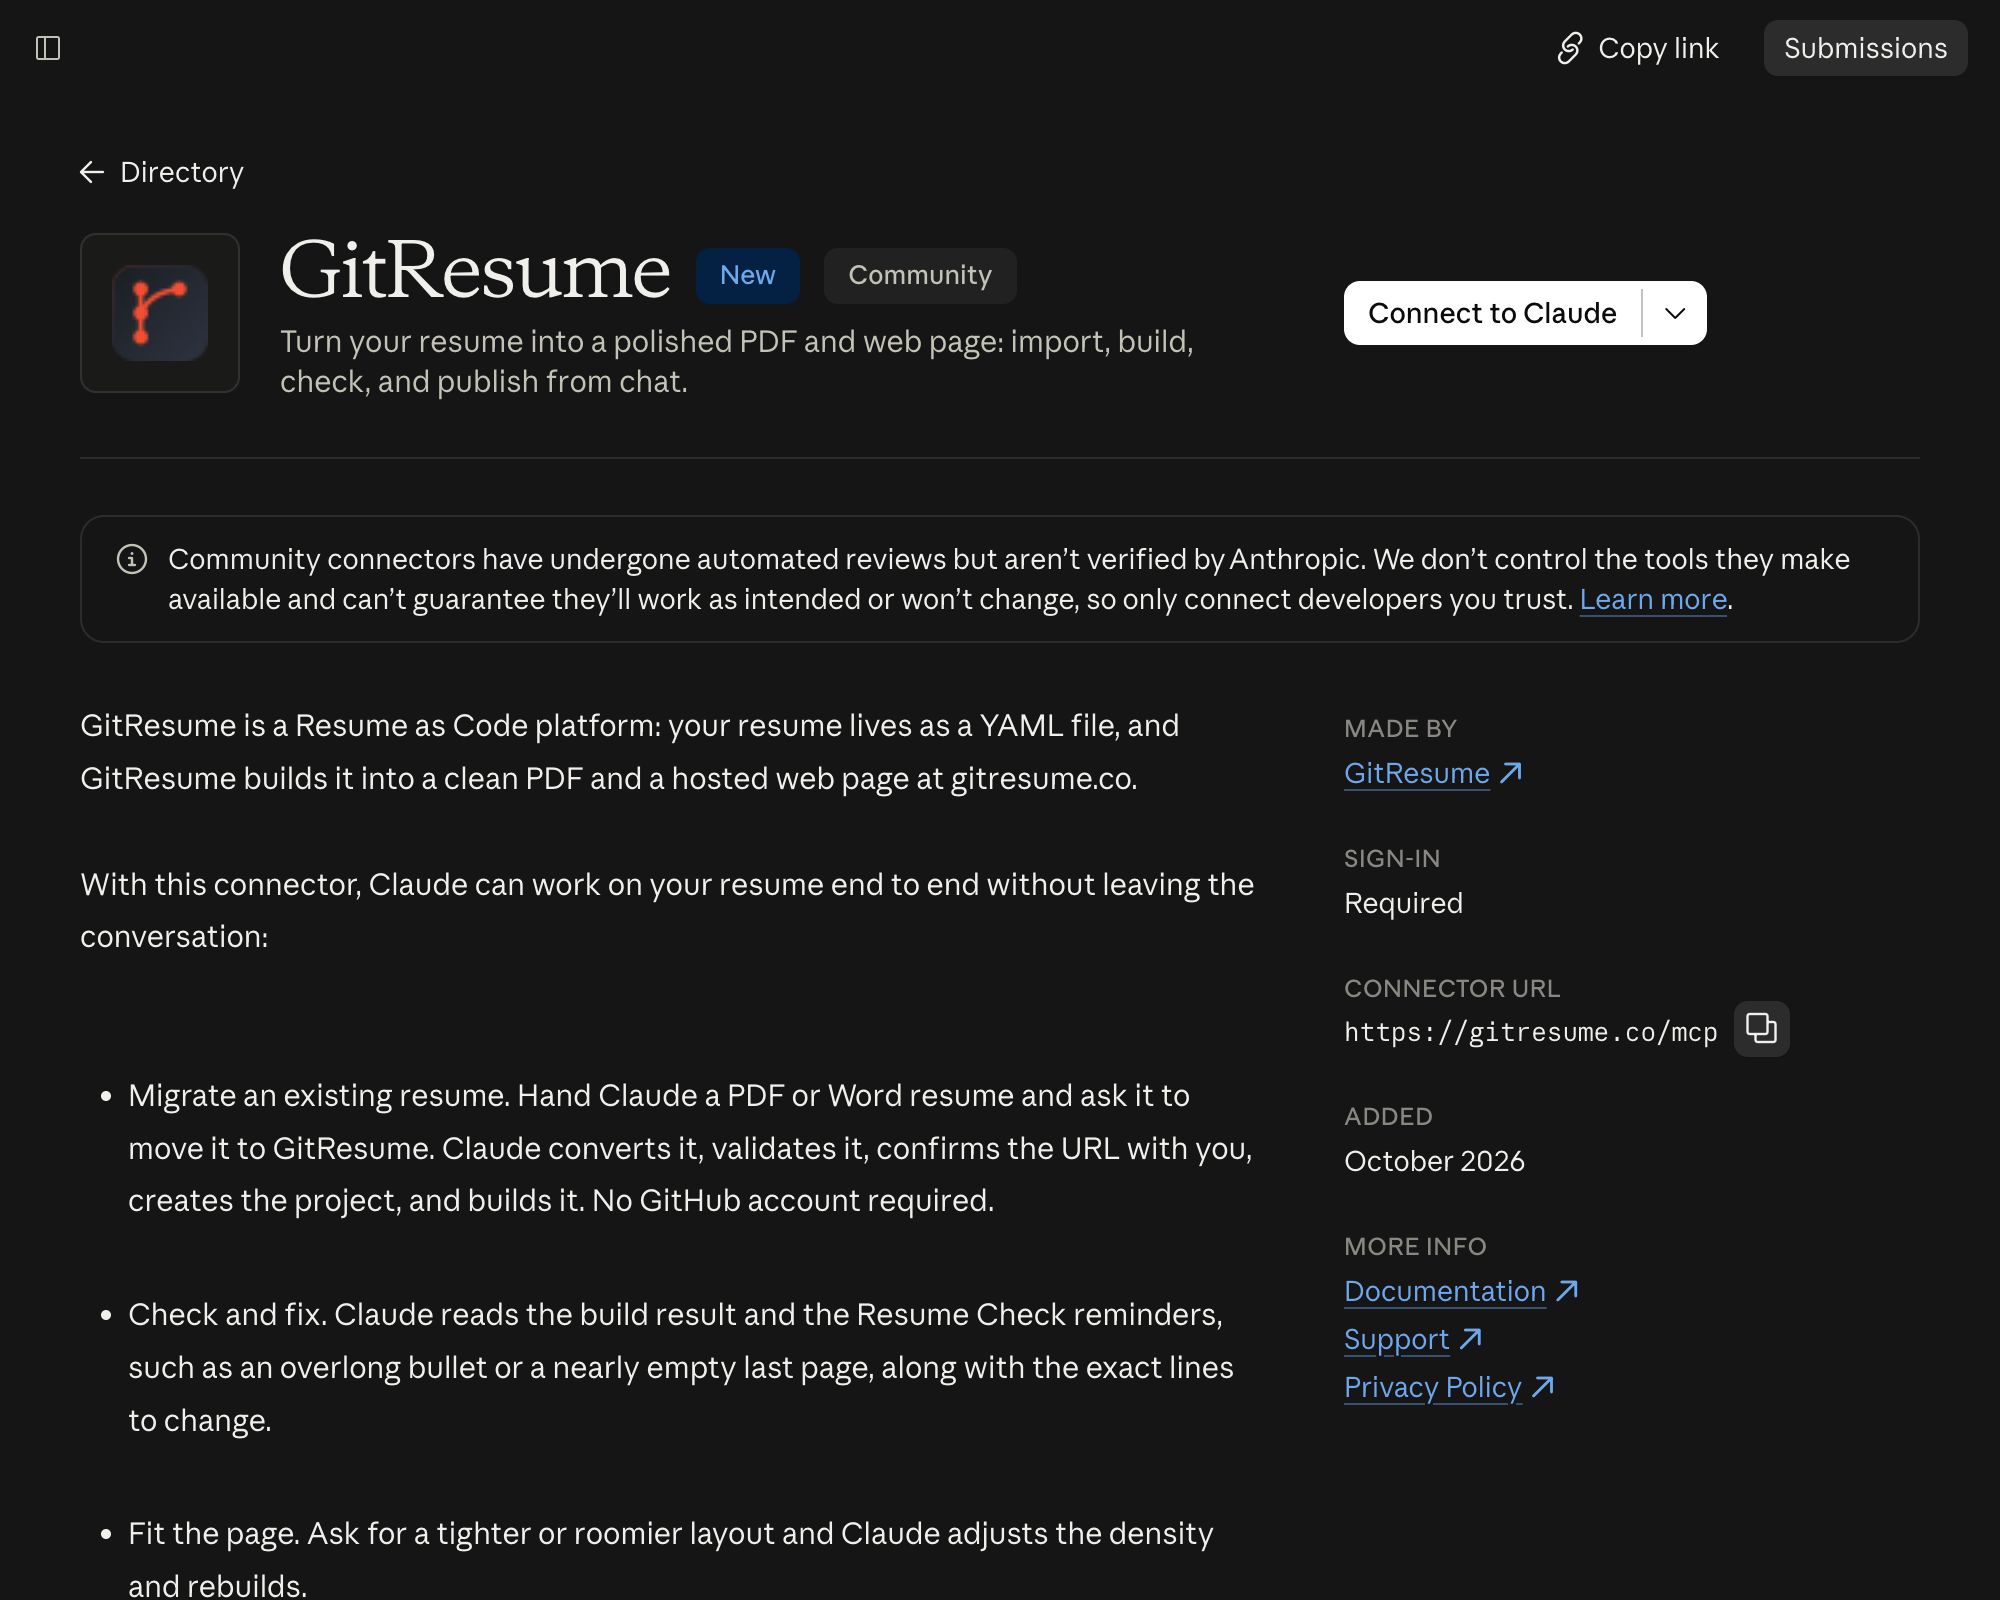
Taking Claude as the example: GitResume is listed in Claude’s connector directory. Open GitResume in the Claude directory and click “Connect to Claude”.
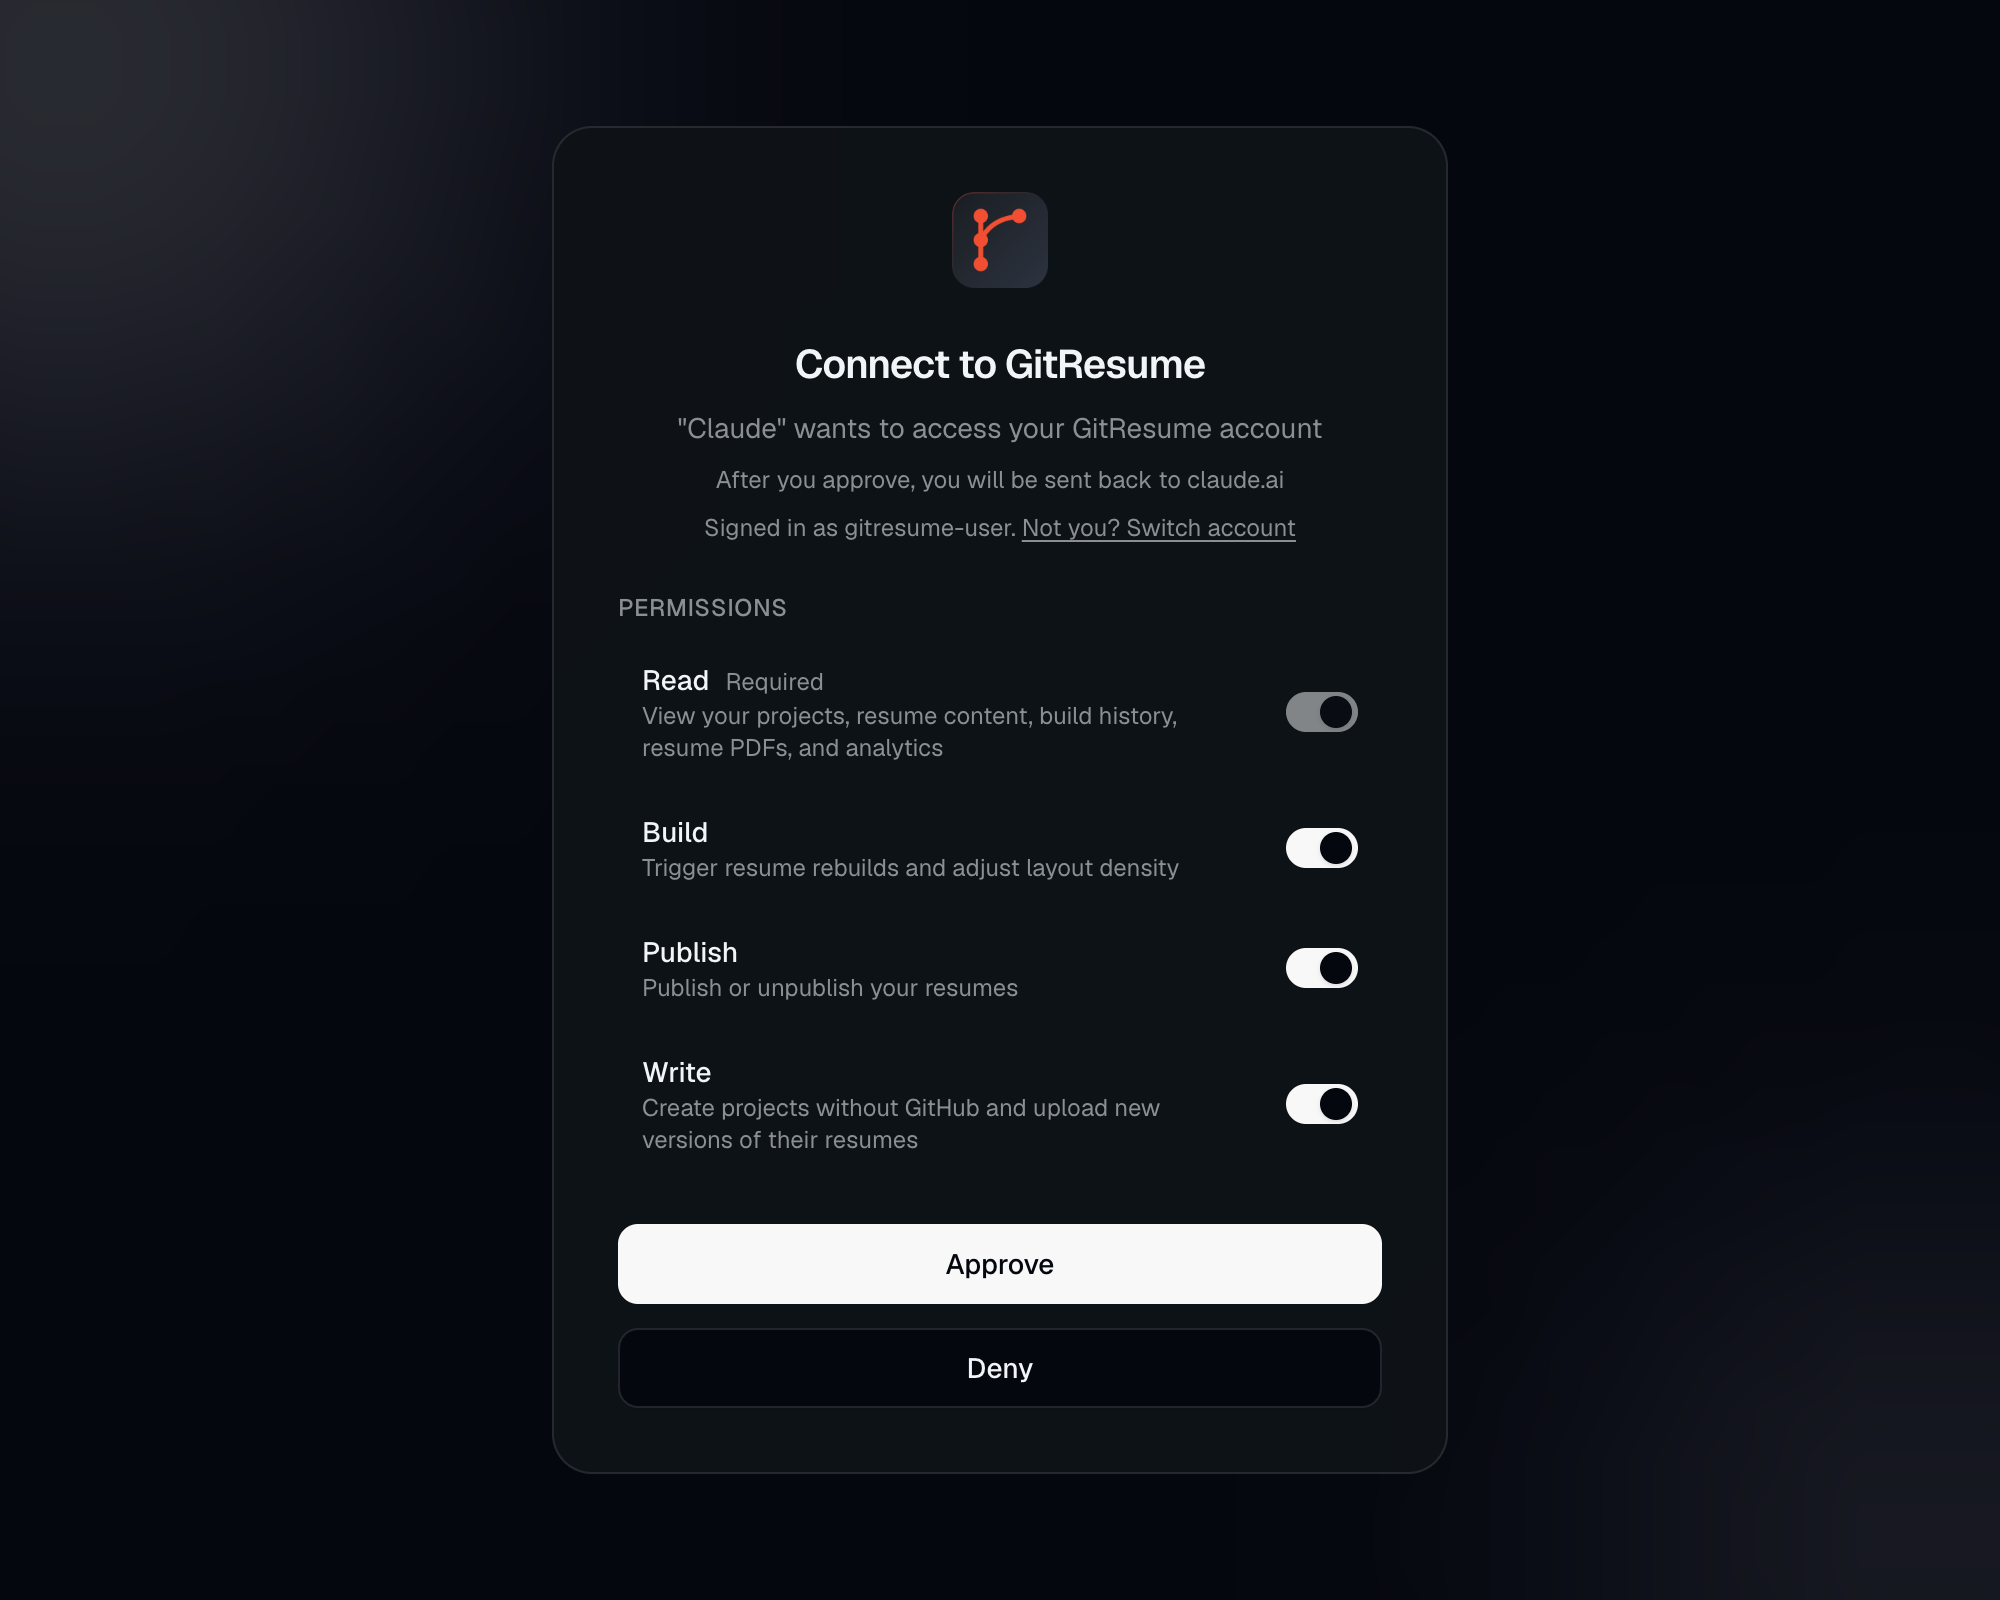
You’ll land on GitResume’s authorization screen, where all four permissions are on by default. Keep “Write” on so the AI can create a project for you.
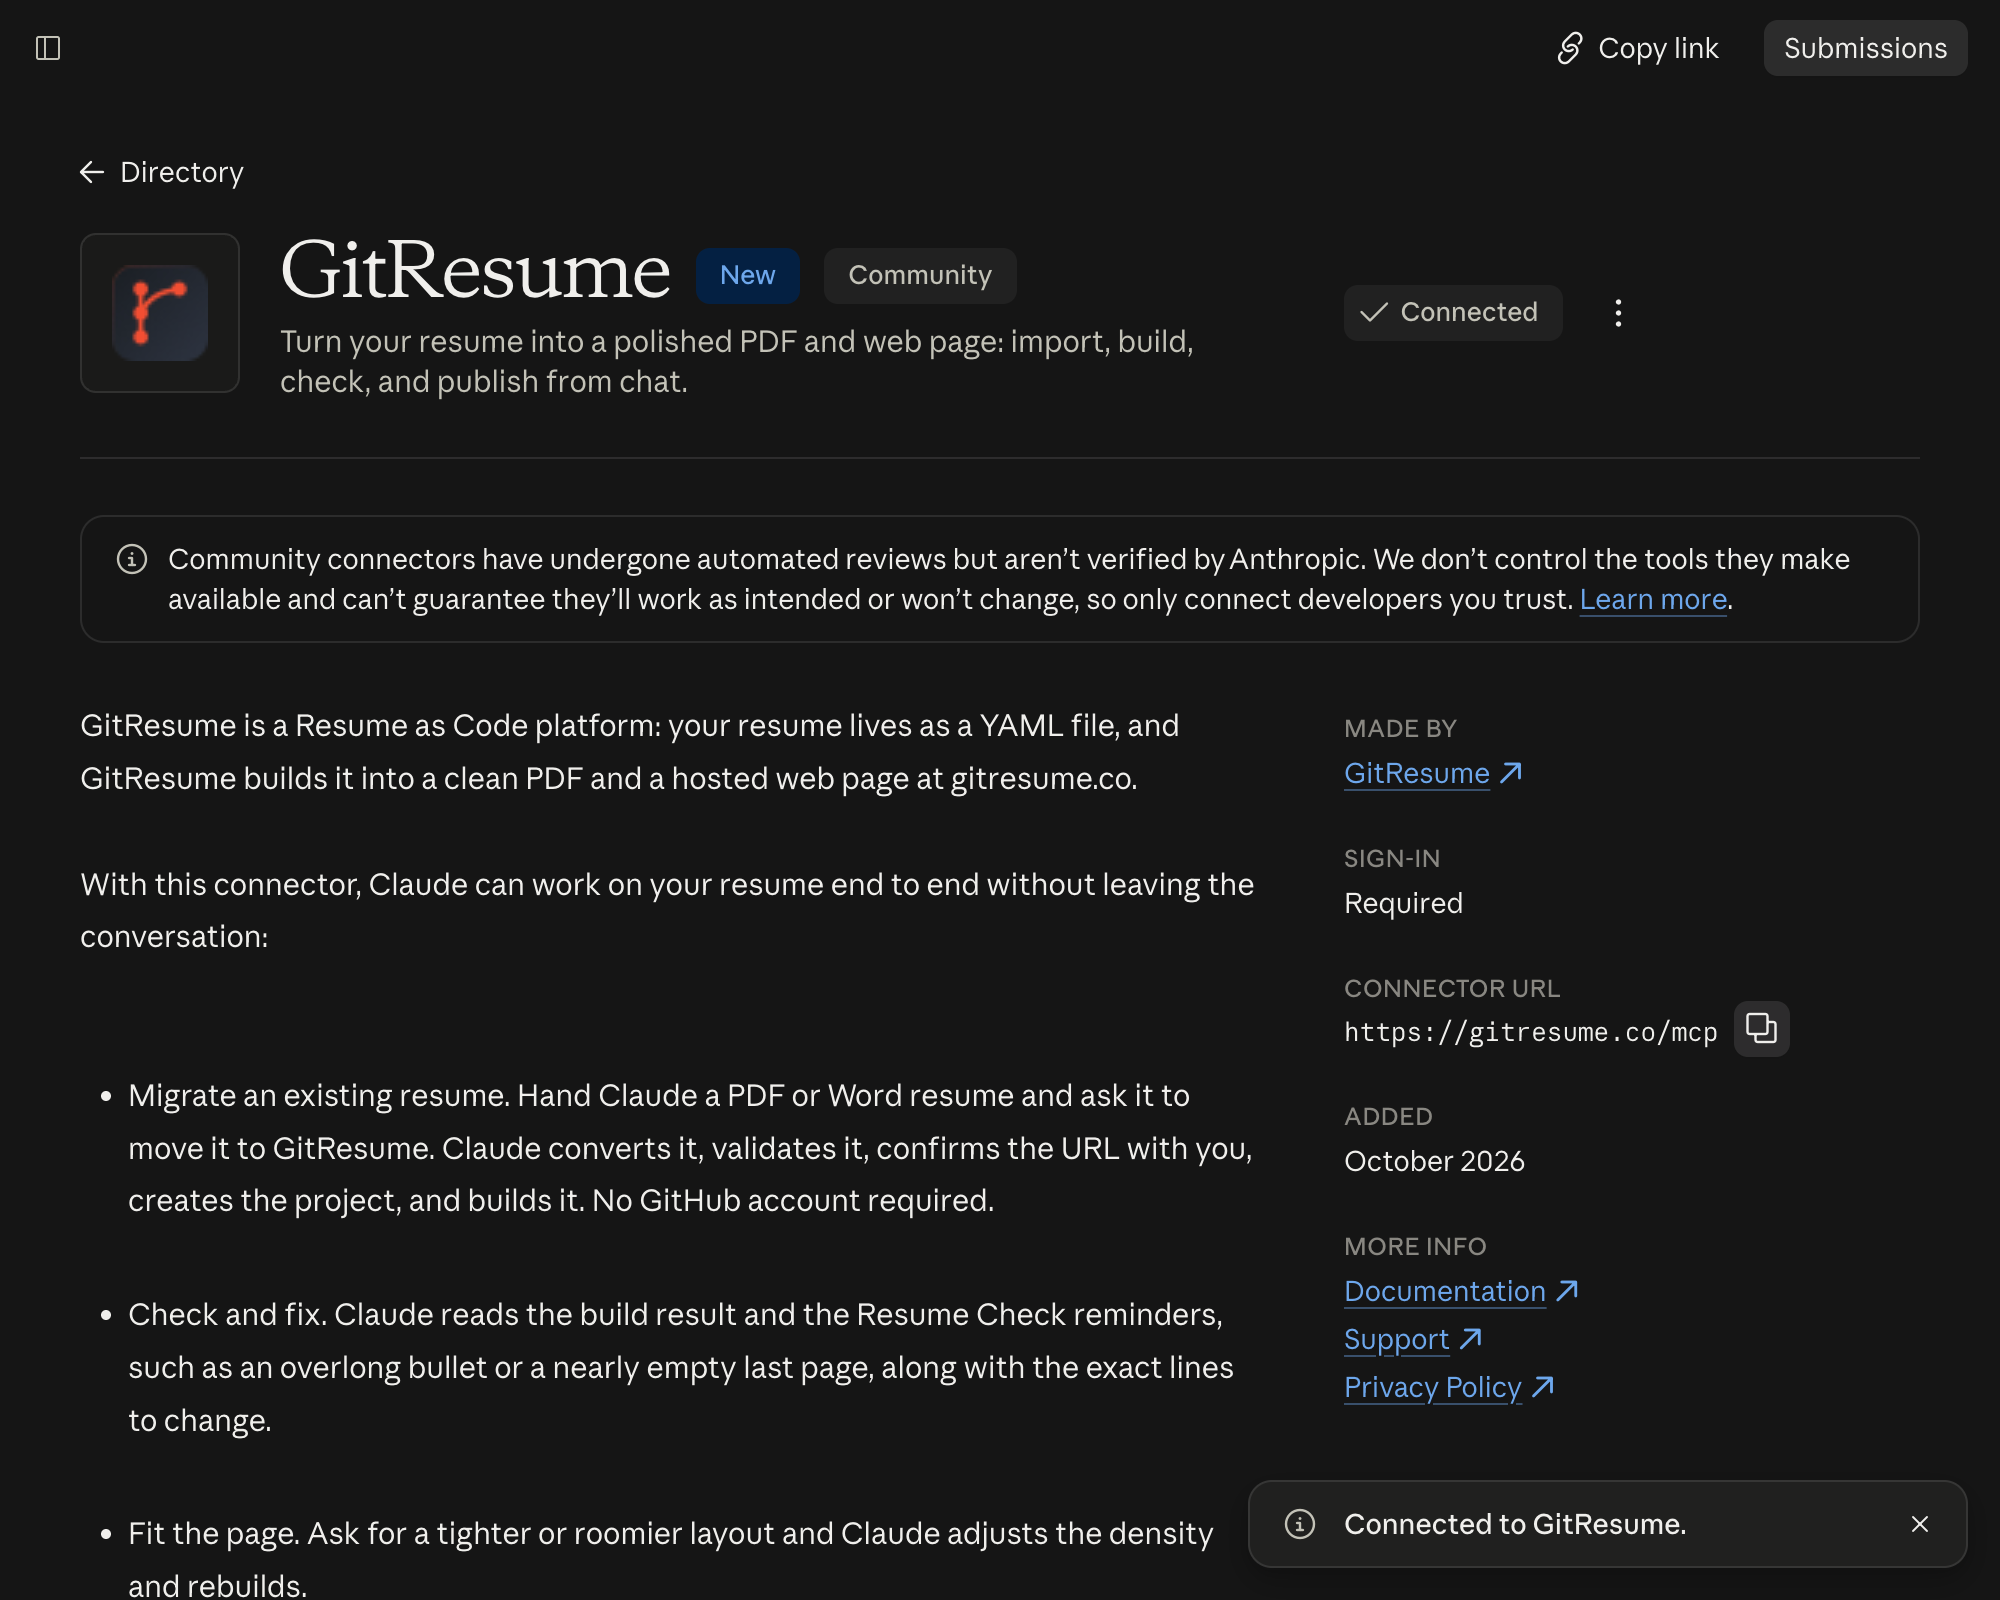
Approve, and back in Claude the button changes to “Connected”. That’s it.
Claude Code and Codex connect with a single command, and any other AI tool that supports MCP works too. See the AI Integration docs for setup.
3. Hand it your resume
Drag your resume file into the chat and say:
Migrate this PDF resume to GitResume.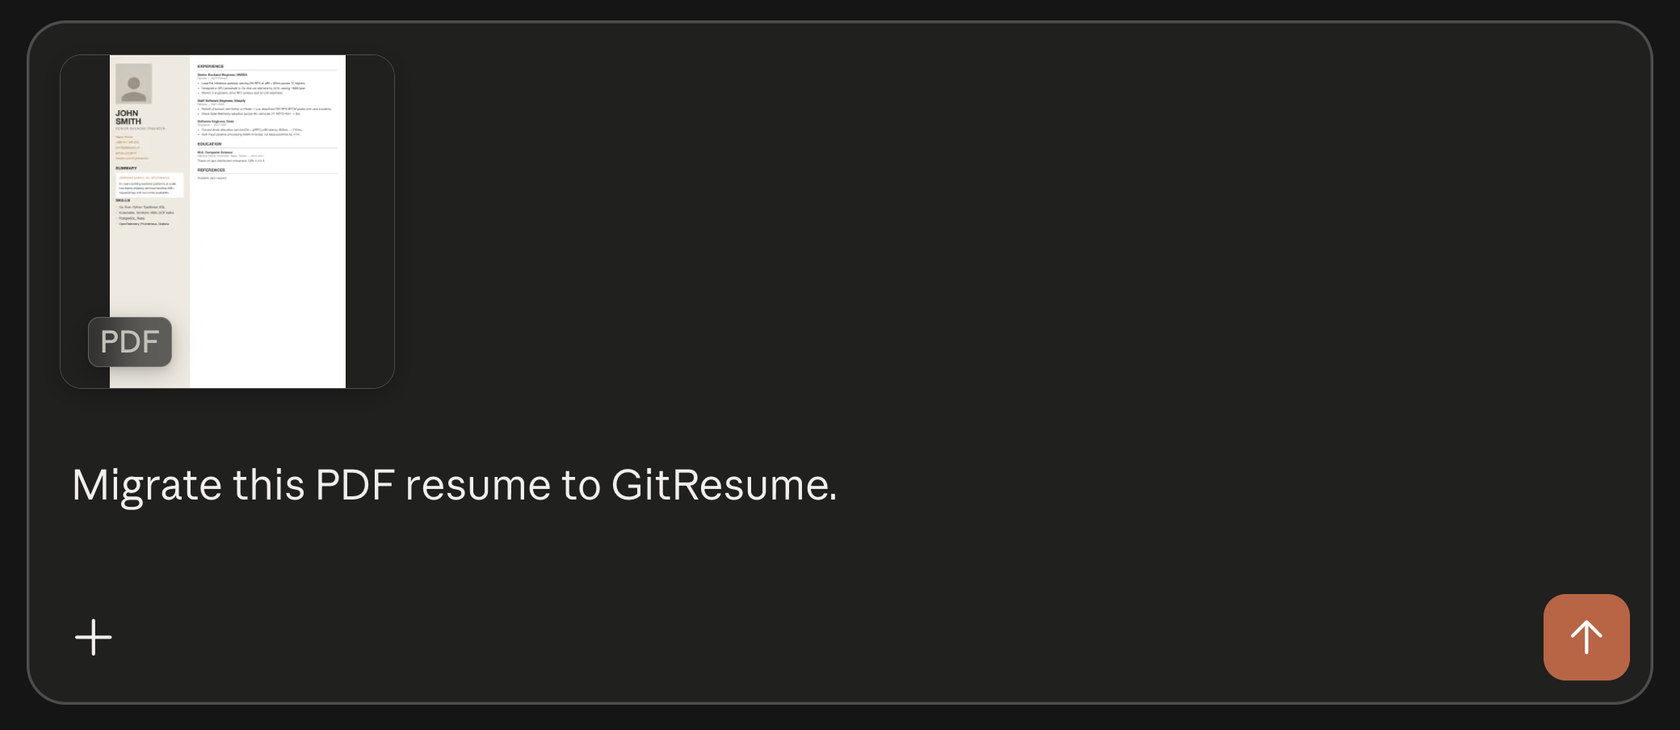
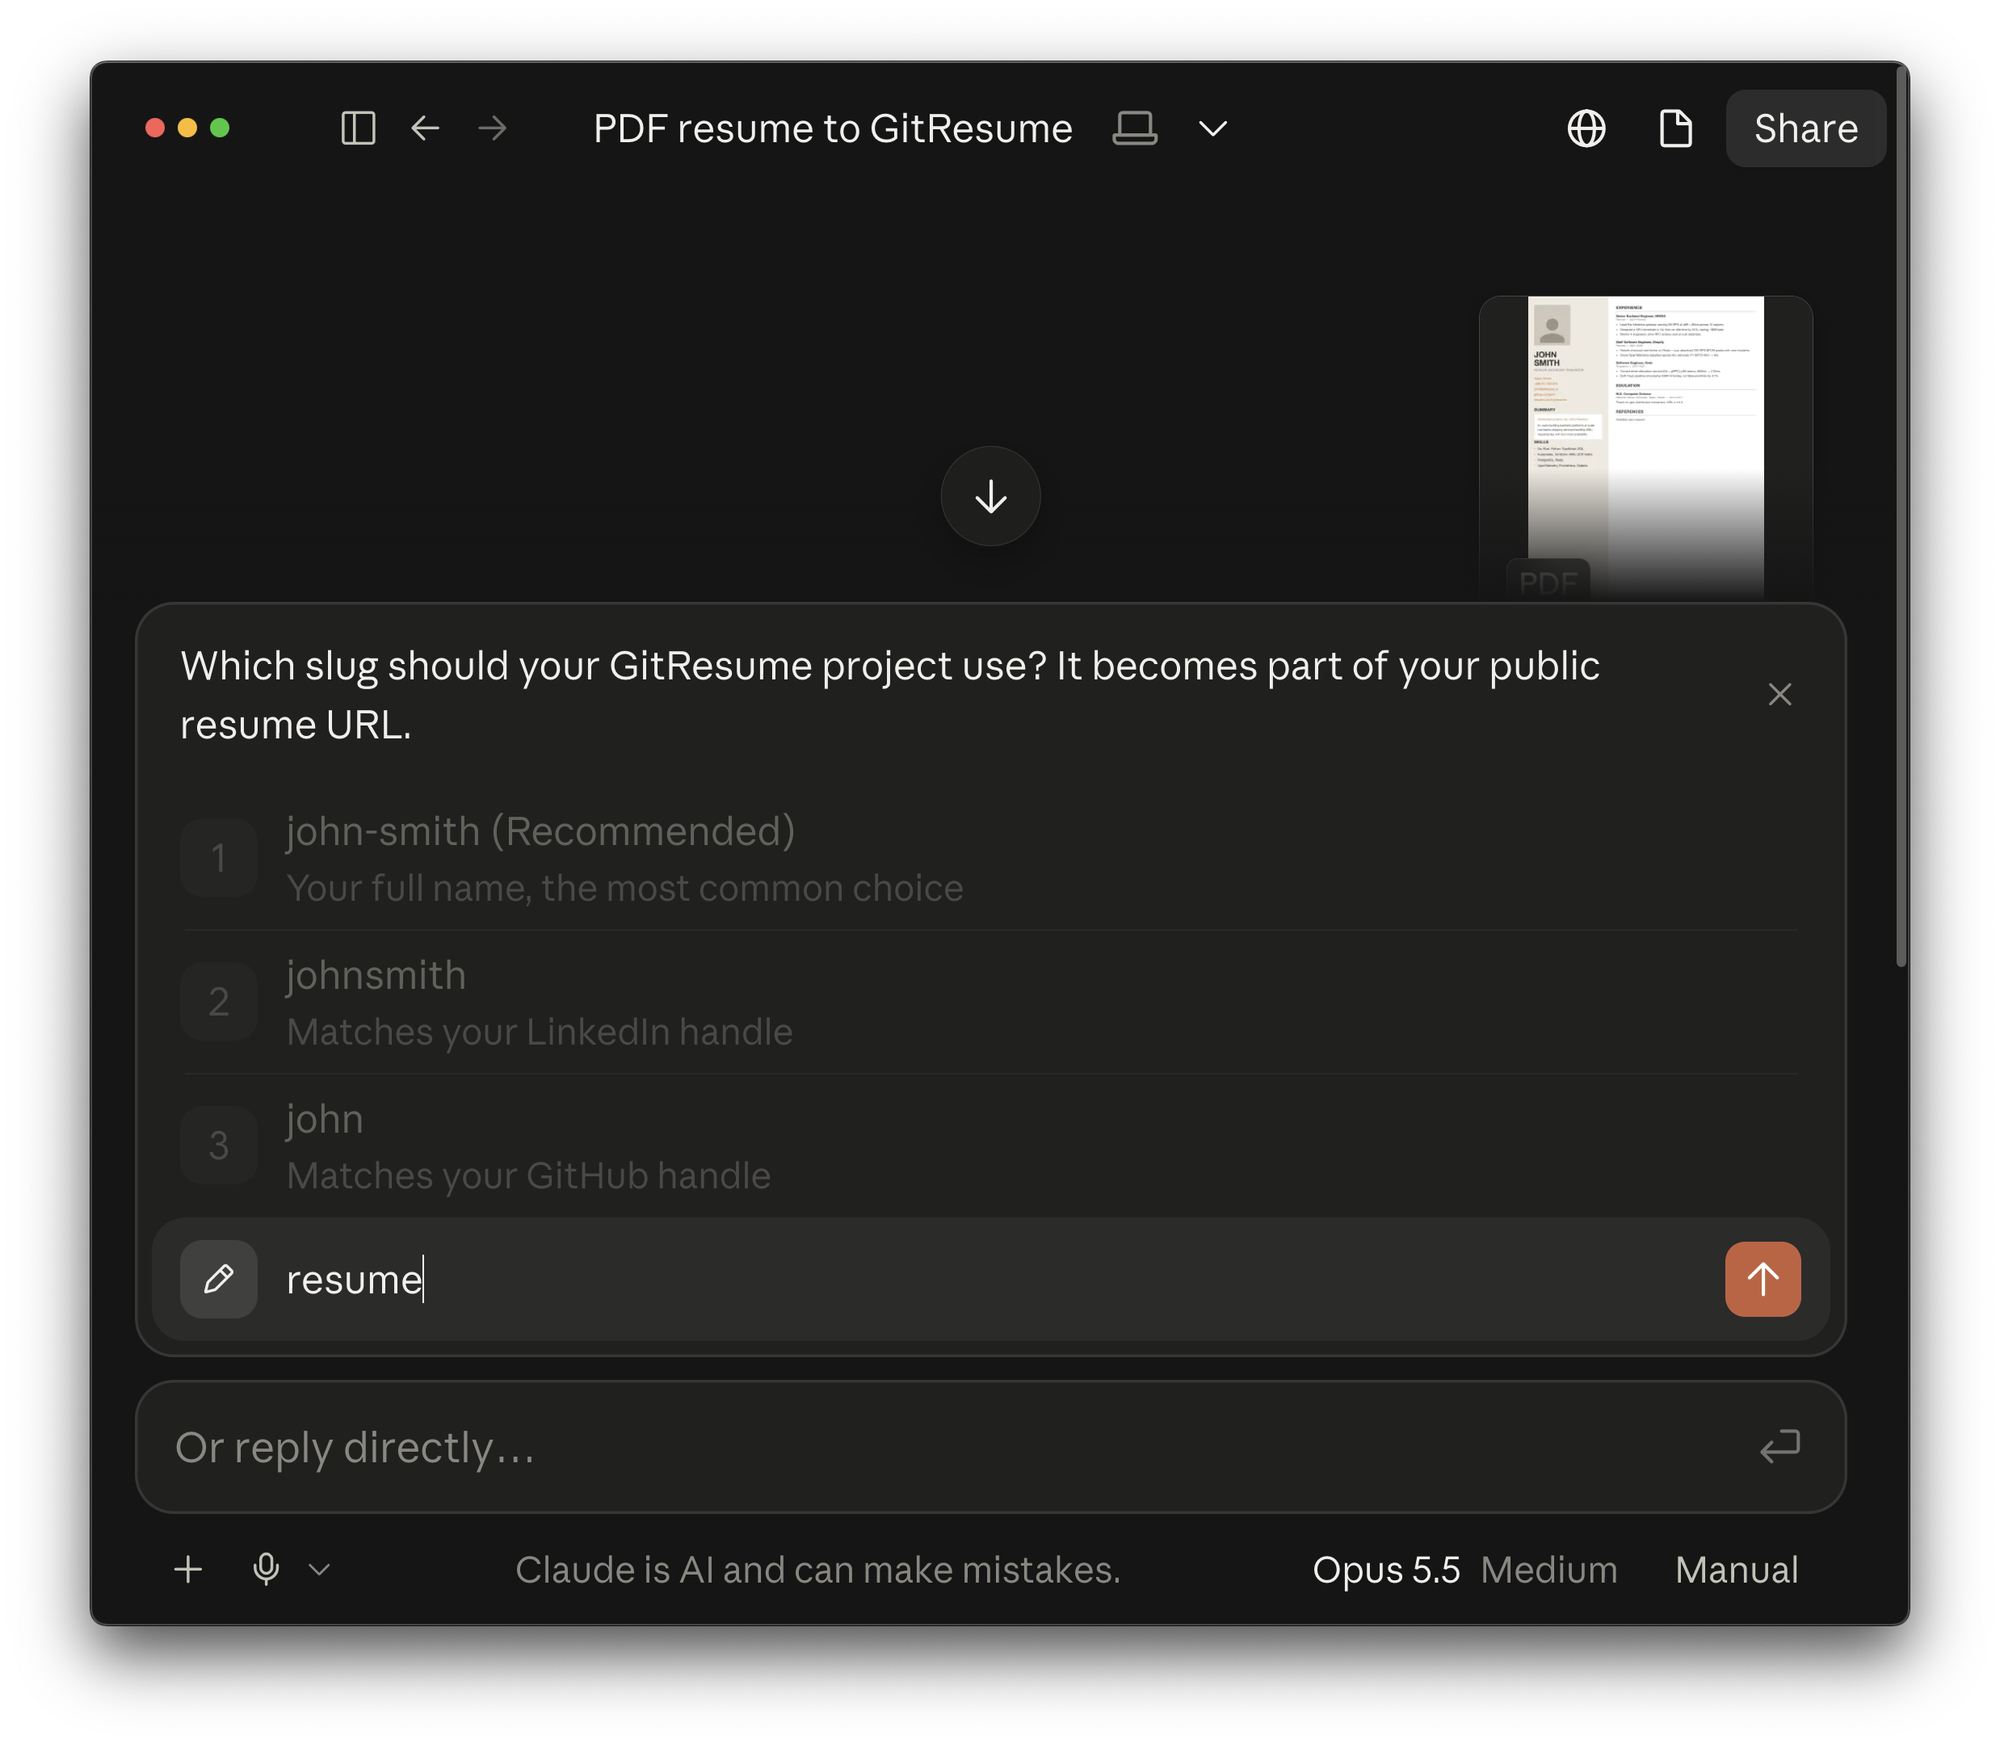
From there it does the work on its own: converts your resume, passes validation, and asks what the project’s URL path should be. Once you confirm, it creates the project and starts the build.
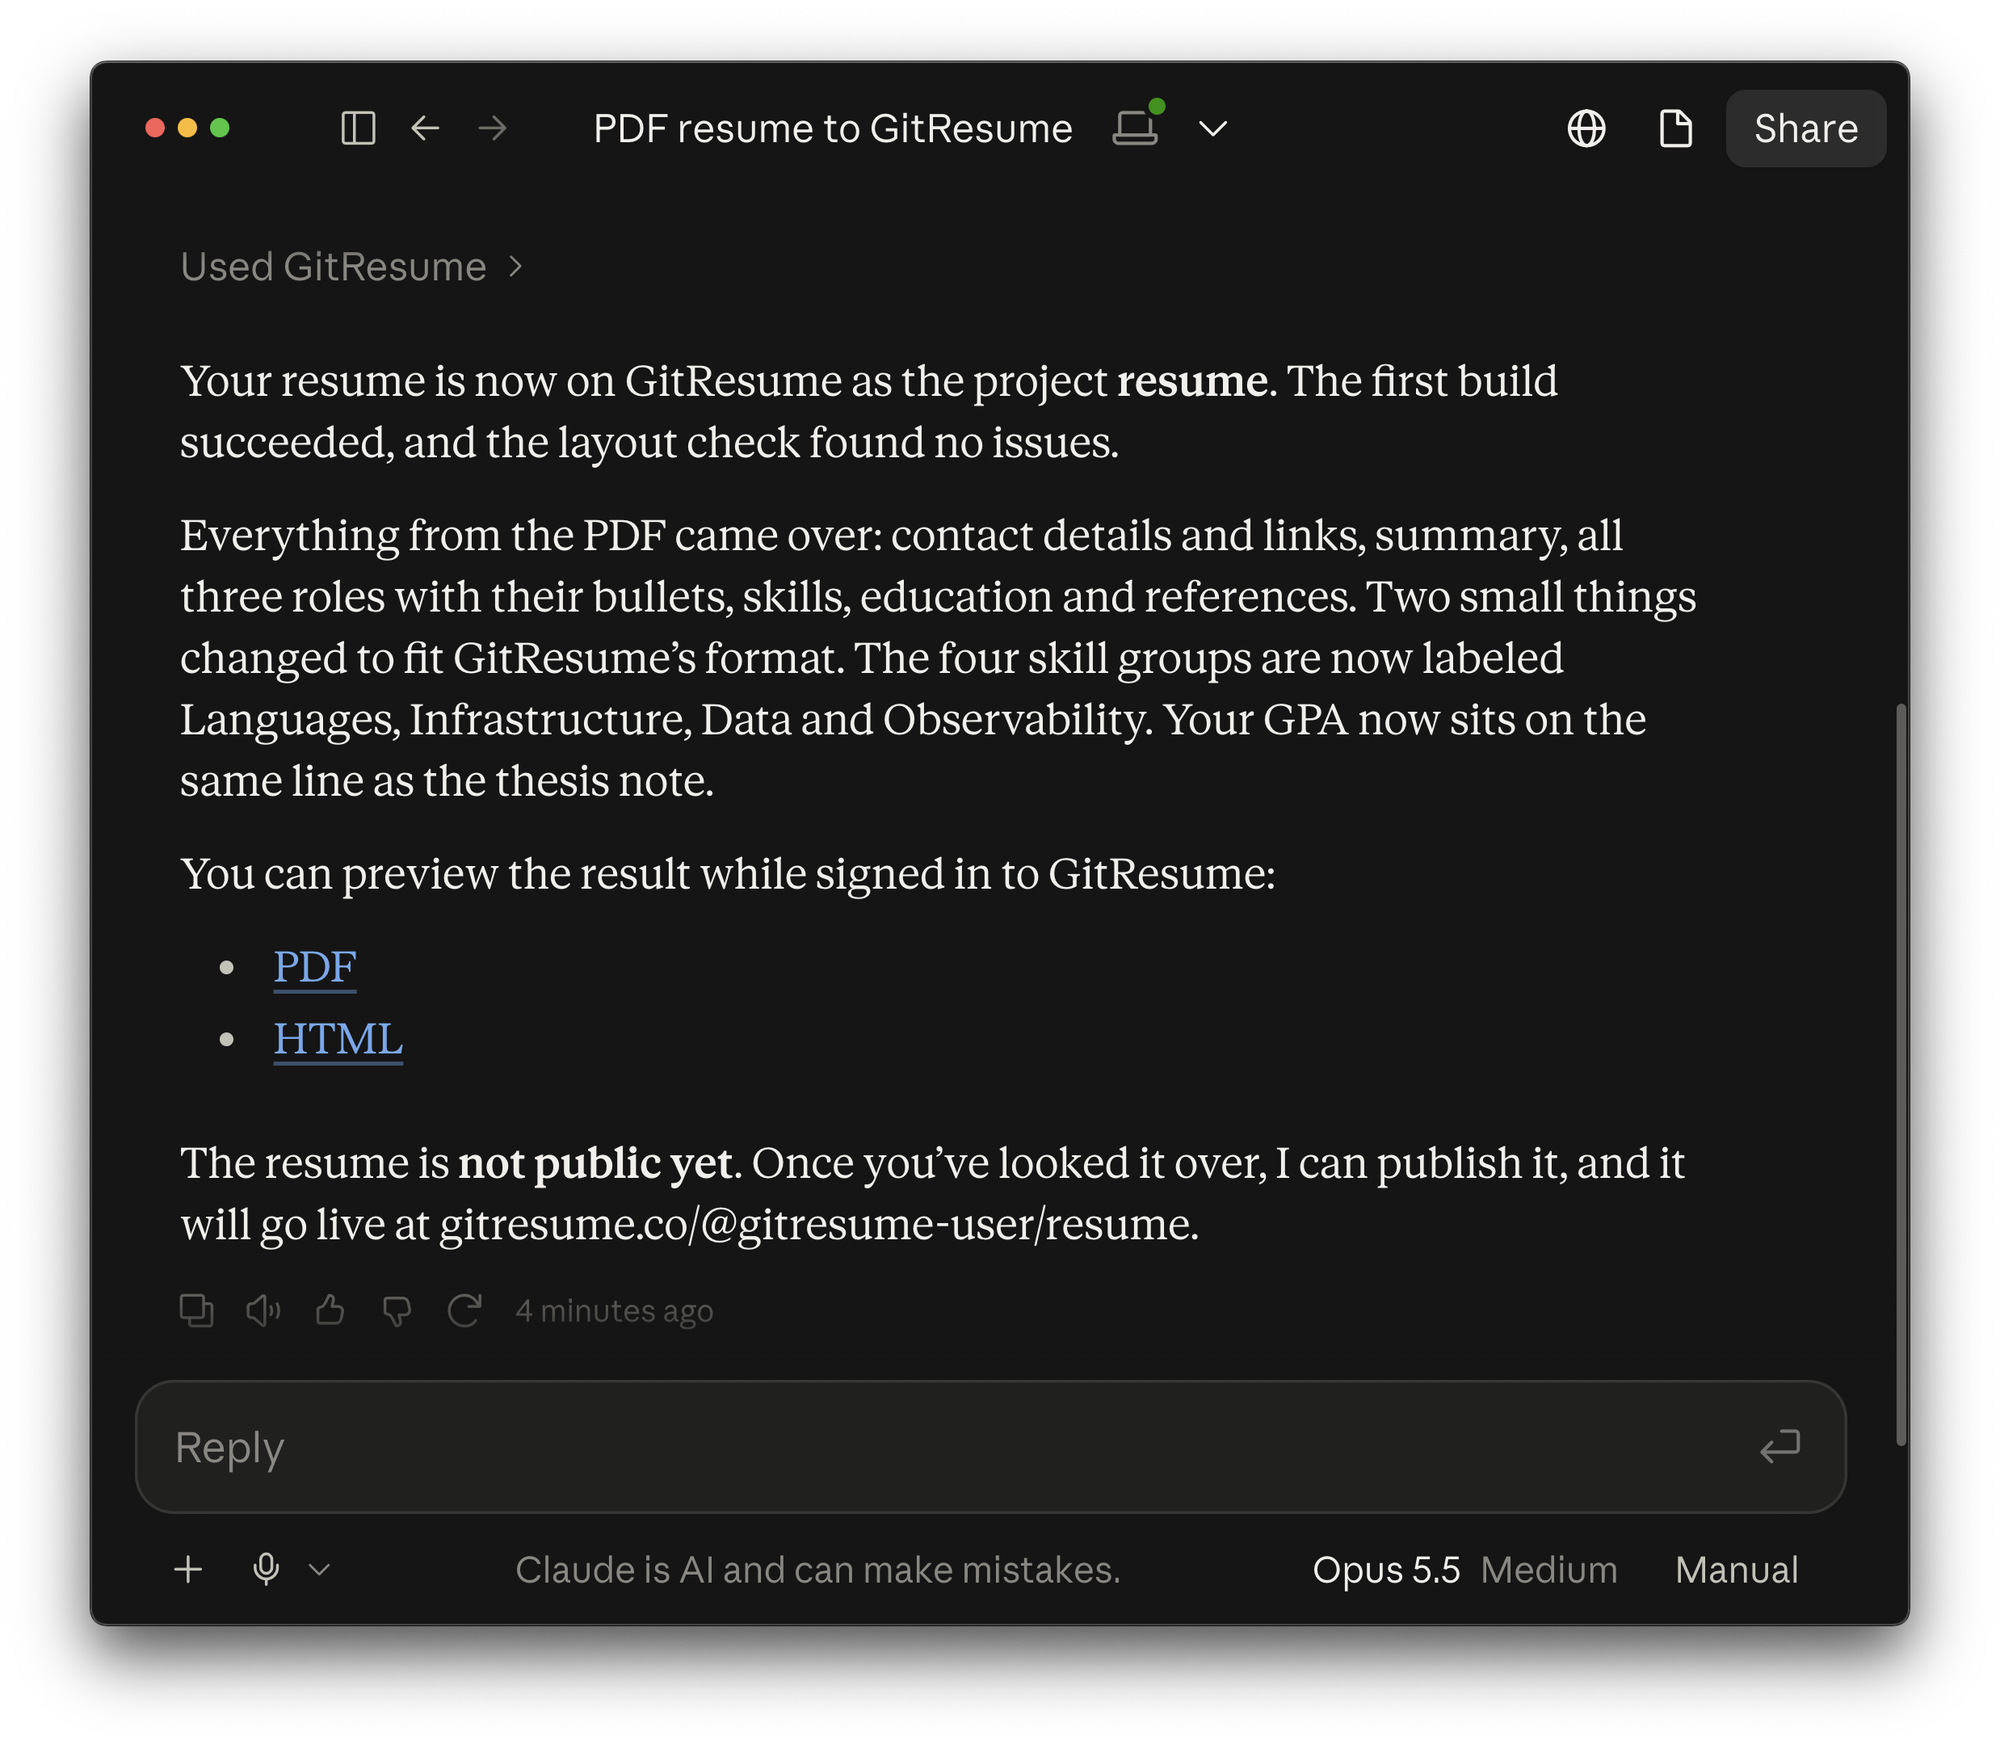
The new resume is private by default. Open the PDF and web links it gives you and check a few things:
- Date formats are consistent
- No fabricated or exaggerated experience
- Names, emails, and links are correct
If everything looks right, say “Publish it” and your resume is live.
And just like that, your existing resume is Resume as Code. On the left is the original PDF handed to the AI; on the right is the version GitResume built:
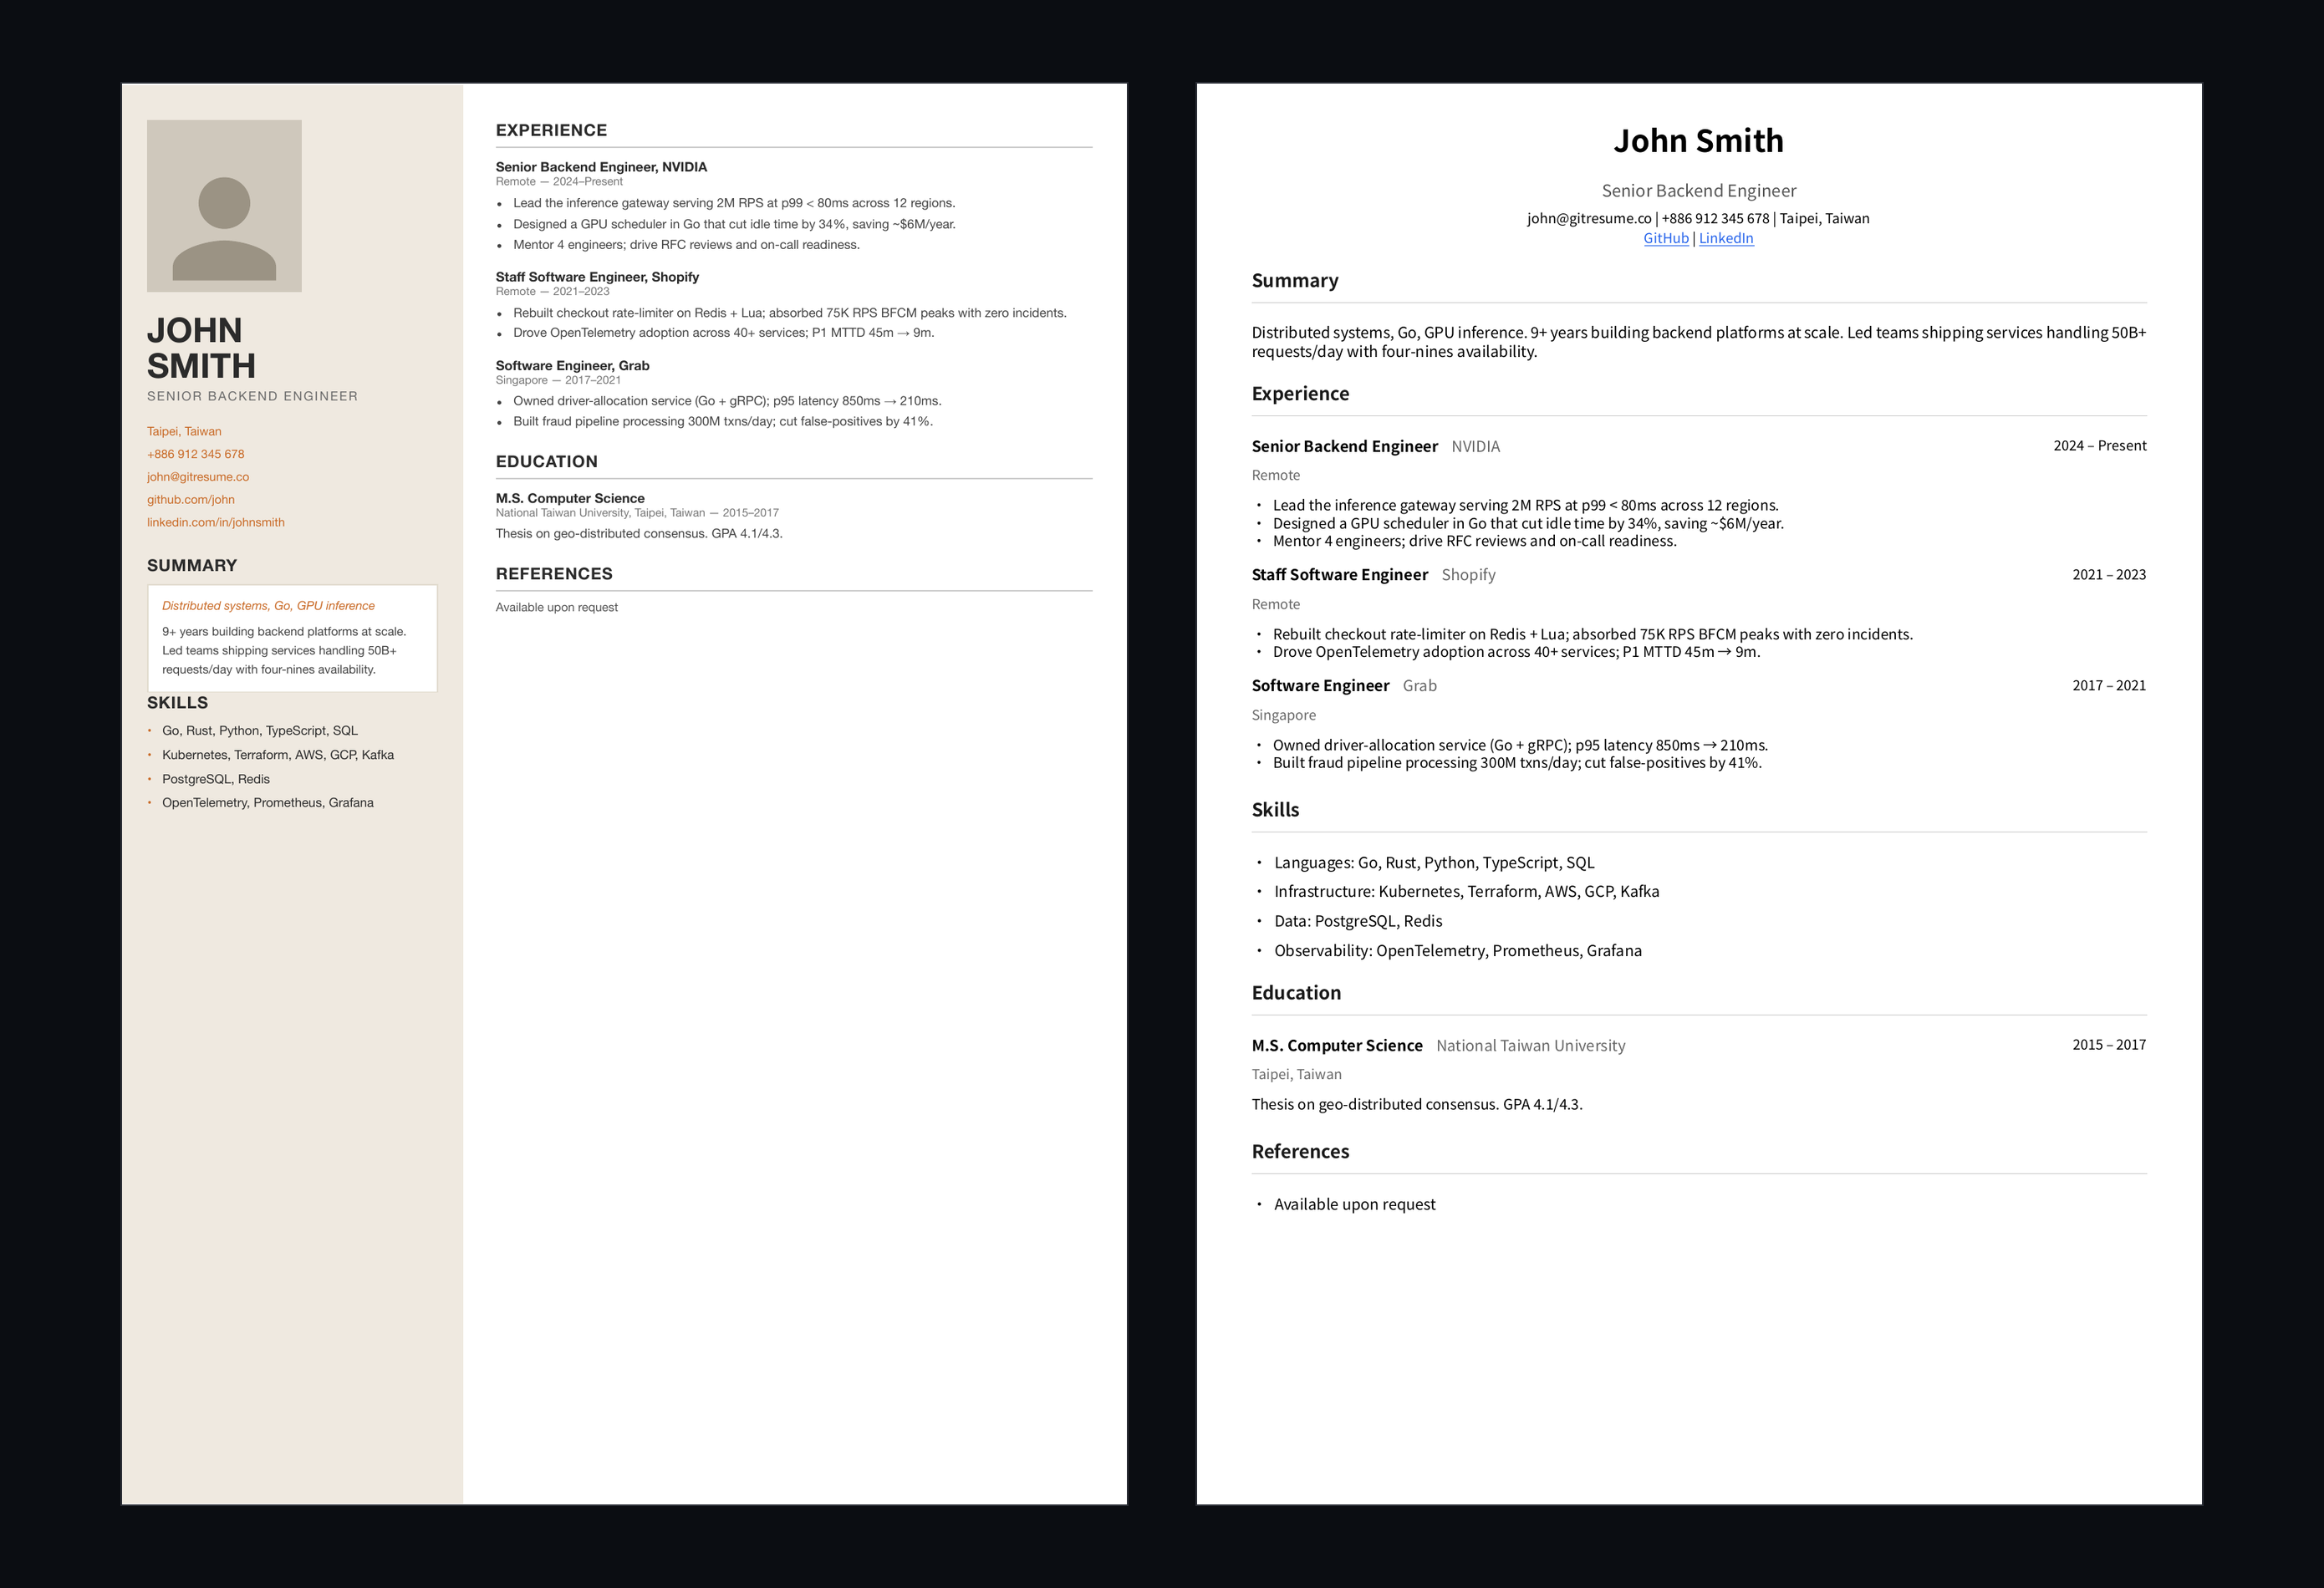
No more fussing over layout. The PDF GitResume produces uses a standard, universal layout that is also friendly to ATS (applicant tracking systems).
Want to manage it with Git?
The steps above don’t need GitHub; GitResume keeps your resume for you. To make changes later, click “Edit” on the project page and edit in the form or as YAML, or just ask the AI to change it.
If you know Git, you can connect the project to your own GitHub repository from its settings at any time. From then on, every push builds automatically, and every branch builds on its own so you can preview before merging.
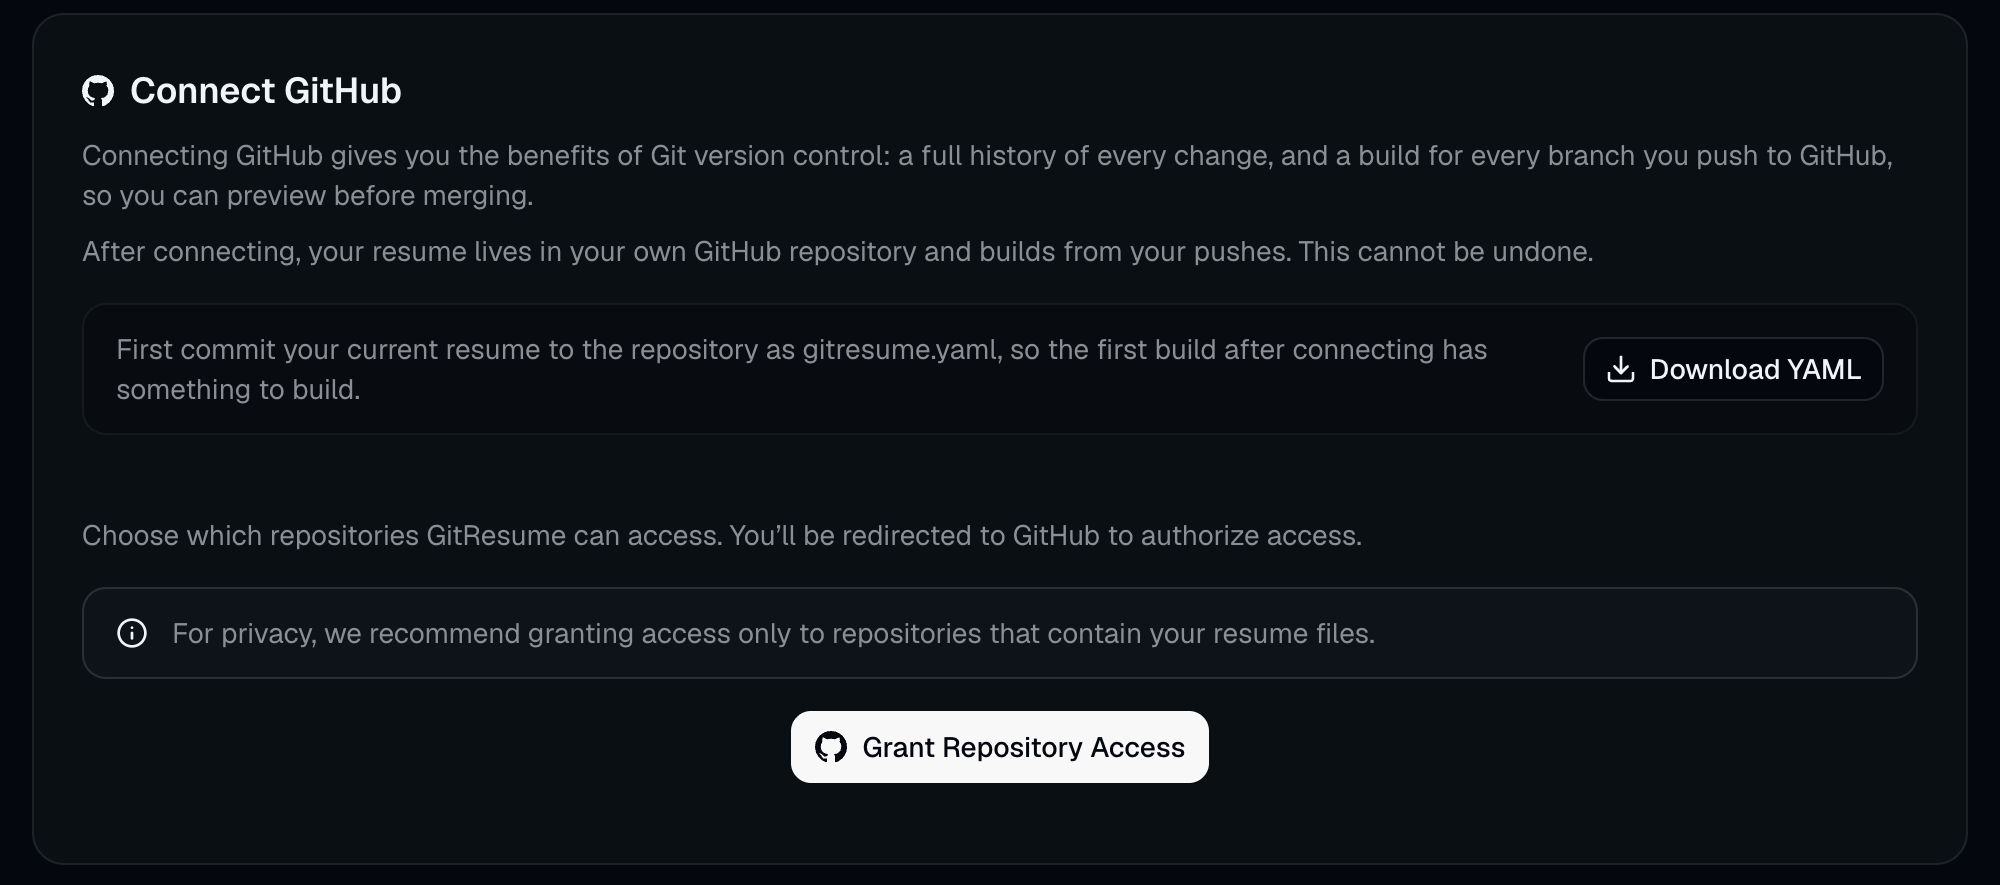
You can also start with a repository created from the official template; see the Getting Started guide for how.
After you’ve moved it over
So how do you make it pay off?
- Let GitResume check the details: every build catches layout issues automatically, such as a single word stranded on the last line or inconsistent date formats. See Resume Check.
- Make it a habit: right after you ship a feature, log it into your resume from your phone. See Make Resume Upkeep a Habit with Claude Code on Mobile.
- When you’re seriously job hunting: to tailor your resume to each role and run ATS keyword optimization, switch to the Career-Ops × GitResume combo.
If you already have a resume, you already have everything you need to start with Resume as Code. Leave the rest to the AI.
Further Reading
- What is Resume as Code?: an introduction to Resume as Code
- AI Integration docs: how to connect each AI tool, and what each permission does
- Getting Started guide: three ways to start, plus the YAML Schema